Entry Form in Craft CMS with GraphQL and petite-vue
How to create a front-end entry form in Craft CMS using GraphQL and petite-vue.

In two recent video lessons, I walked through the fundamentals of petite-vue and how to create a front-end Craft CMS entry form using vanilla JavaScript and GraphQL. In this article, and its sibling video lesson, I want to combine the two and create a front-end entry form for Craft CMS using petite-vue and GraphQL. It’s like a frankenstein of forms…or something.
If you haven’t already reviewed how petite-vue works, then I’d encourage you to do that first. It’s also a good idea to review the contact form we’re building in the original lesson video.
Let’s createApp #
For this example, we’ll work in a file called form.js. We are not going to use a build step for this example form; we’ll just include the form.js file directly in our HTML and be on our way.
<script src="/js/form.js" type="module" ></script>
At the top of the form.js file, we import the petite-vue library via import and using the ES module version of the library.
import { createApp } from "https://unpkg.com/petite-vue?module";
Now we can create the createApp() function. This function accepts a data object where we can define any variables and functions we need to build our form. We’ll also define a couple of functions external to this function and call them inside of it.
import { createApp } from "https://unpkg.com/petite-vue?module";

createApp({

}).mount()
We call mount() to mount the application instance and begin its lifecycle. We can optionally explicitly scope our app to an element ID in the html by passing it into mount(), like mount('#contactForm'). This is nice if you have multiple applications on one page. Since we only have one we will use v-scope.
Let’s scope the application to just the form on the HTML page. We do that by adding v-scope to the HTML block we want petite-vue to care about.
<form action="#" method="post" class="grid grid-cols-1 gap-y-6 sm:grid-cols-2 sm:gap-x-8" id="formHandler" v-scope>
Back in our petite-vue app, let’s create a method that will handle processing the form. This is the method we’ll call when the form is submitted.
createApp({
    processForm() {
        console.log('received submission')
    }
}).mount()
To call processForm() we need to hook into the form submit event. This is where petite-vue is simpler than JavaScript.
We add an event handler using @submit and then the prevent modifier to get the preventDefault() functionality.
<form @submit.prevent="processForm" action="#" method="post" class="grid grid-cols-1 gap-y-6 sm:grid-cols-2 sm:gap-x-8" v-scope>
Now let’s test the application by submitting the form to see if we get the message logged to the console. If we do then everything is working correctly!
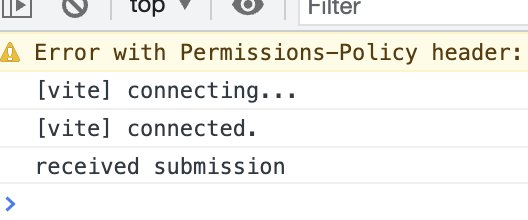
If you didn’t get that message or some kind of error, then go back and review the steps again. You might have a small error but that’s okay; fix it and then keep going!
Defining the Data Model
When it comes to the form data, we have a few things to consider.
First, we need to be able to successfully capture the submitted data so we can pass it into a GraphQL request and save it in Craft CMS.
Second, we need to be able to repopulate the forms with the submitted data in the event that there’s an error.
Third, we need to clear the data in all of the forms upon a successful submission.
This will all be made easier by and handled by v-model in petite-vue, which create a two-way binding of our form data.
First, let’s define our fields as an object. We’ll do this outside of the createApp() function just to keep things a bit cleaner and easier to read.
const fields = () => {
    return {
        firstName: '',
        lastName: '',
        company: '',
        email: '',
        phoneNumber: '',
        message: ''
    }
}
Here we’ve defined all of our fields with empty strings as values. This will make it easy to set the default when the form loads and then reset the input fields after a successful submission.
We can set those defaults by calling the function in a property in the app.
createApp({
	fields: fields(),
    processForm() {
        console.log('received submission')
    }
}).mount()
Now we can bind those values in our markup using the v-model directive and then specify which object property belongs to each field.
<input name="email" type="email" autocomplete="email" class="py-3 px-4 block w-full shadow-sm border-gray-500 rounded-md" required v-model="fields.email">
We do this for all of the fields using the same pattern. It should be:
v-model="fields.firstName"v-model="fields.lastName"v-model="fields.company"v-model="fields.email"v-model="fields.phoneNumber"v-model="fields.message"
If we reload the page, everything should look the same.
Now let’s capture that form data so we can process it and save it via a GraphQL query. Inside of the processForm() method, we’ll replace the “received submission” message with this.fields. This will log out the values in fields. If all is set up properly, then this will be the data submitted via the form.

There we go, it works!
Now that we have the data, we can save it to Craft CMS as an entry via GraphQL.
Saving via GraphQL
The first step to saving the form data via GraphQL is build our base query. This is the same query that I used in the vanilla JavaScript version of the this form. We’ll set it to the const query so we can easily access it inside of our app function.
const query = `mutation saveContactForm($firstName: String, $lastName: String, $company: String, $phoneNumber: String, $email: String, $message: String, $authorId: ID) {
  save_submissions_contactForm_Entry(firstName: $firstName, lastName: $lastName, company: $company, phoneNumber: $phoneNumber, email: $email, message: $message authorId: $authorId) {
    firstName
    lastName
    company
    phoneNumber
    email
    message
 }
}`
That is just the query and only one part of the entire request we’ll send via GraphQL. The next part we need to build is the function that preps the data and returns the entire request payload. We’ll call this function from fetch() so it can pass in the entire payload based on the submitted data.
We’re using an anonymous function assigned to the const payload and passing in the form data from the submission. You’ll see in a minute where we call this function and pass in the data.
This function returns an object with all of the data needed for a full GraphQL request.
- method: this is the method of the request; a POST request
- headers: standard headers for a GraphQL query. We’re getting the GraphQL token for authentication from the HTML document. We have it there because we grab it from the
.envfile in Craft CMS. - body: this is the body of the request and the payload of data that GraphQL will process. We wrap the entire thing in
JSON.stringifyas required by GraphQL. It includes the query (called fromqueryconstant we set), and then populates each variable with the form data submitted. We setauthorIdto1so Craft saves the new entry using that user as the author.
const payload = (formData) => {
    return {
        method: 'POST',
        headers: {
            "Content-Type": "application/json",
            "Authorization": `Bearer ${window.graphqlToken}`
        },
        body: JSON.stringify(
            {
                query: `${query}`,
                variables: {
                    firstName: formData.firstName,
                    lastName: formData.lastName,
                    company: formData.company,
                    phoneNumber: formData.phoneNumber,
                    email: formData.email,
                    message: formData.email,
                    authorId: 1
                }

            }
        )
    }
}
    <script>
        window.graphqlToken = "{{ getenv('GQL_CONTACT_FORM_TOKEN') }}"
        window.graphqlEndpoint = "{{ getenv(GRAPHQL_ENDPOINT') }}"
    </script>
We’ll use fetch() to make the request. Let’s build that out in our petite-vue app. It’ll go inside of the processForm() method since that’s what we’re calling from the HTML form via the submit event handler.
Into fetch() we pass the URL of the GraphQL endpoint, which we get from window.graphqlEndpoint that we set in our HTML. The value is retrieved from the project’s .env file.
We also pass in the request data as the second parameter. We get this data from the payload() function we defined earlier, and pass into it the submitted field data. That returns JSON-encoded data.
If the request is successful, we don’t do anything yet (but we will in a moment). If the request fails then we log that error to the console for now.
    processForm() {
        console.log(this.fields)
        fetch(window.graphqlEndpoint, payload(this.fields))
            .then(response => response.json())
            .then(response => {
				// some stuff to come here
            })
            .catch(error => {
                console.log(error)
            })
    }
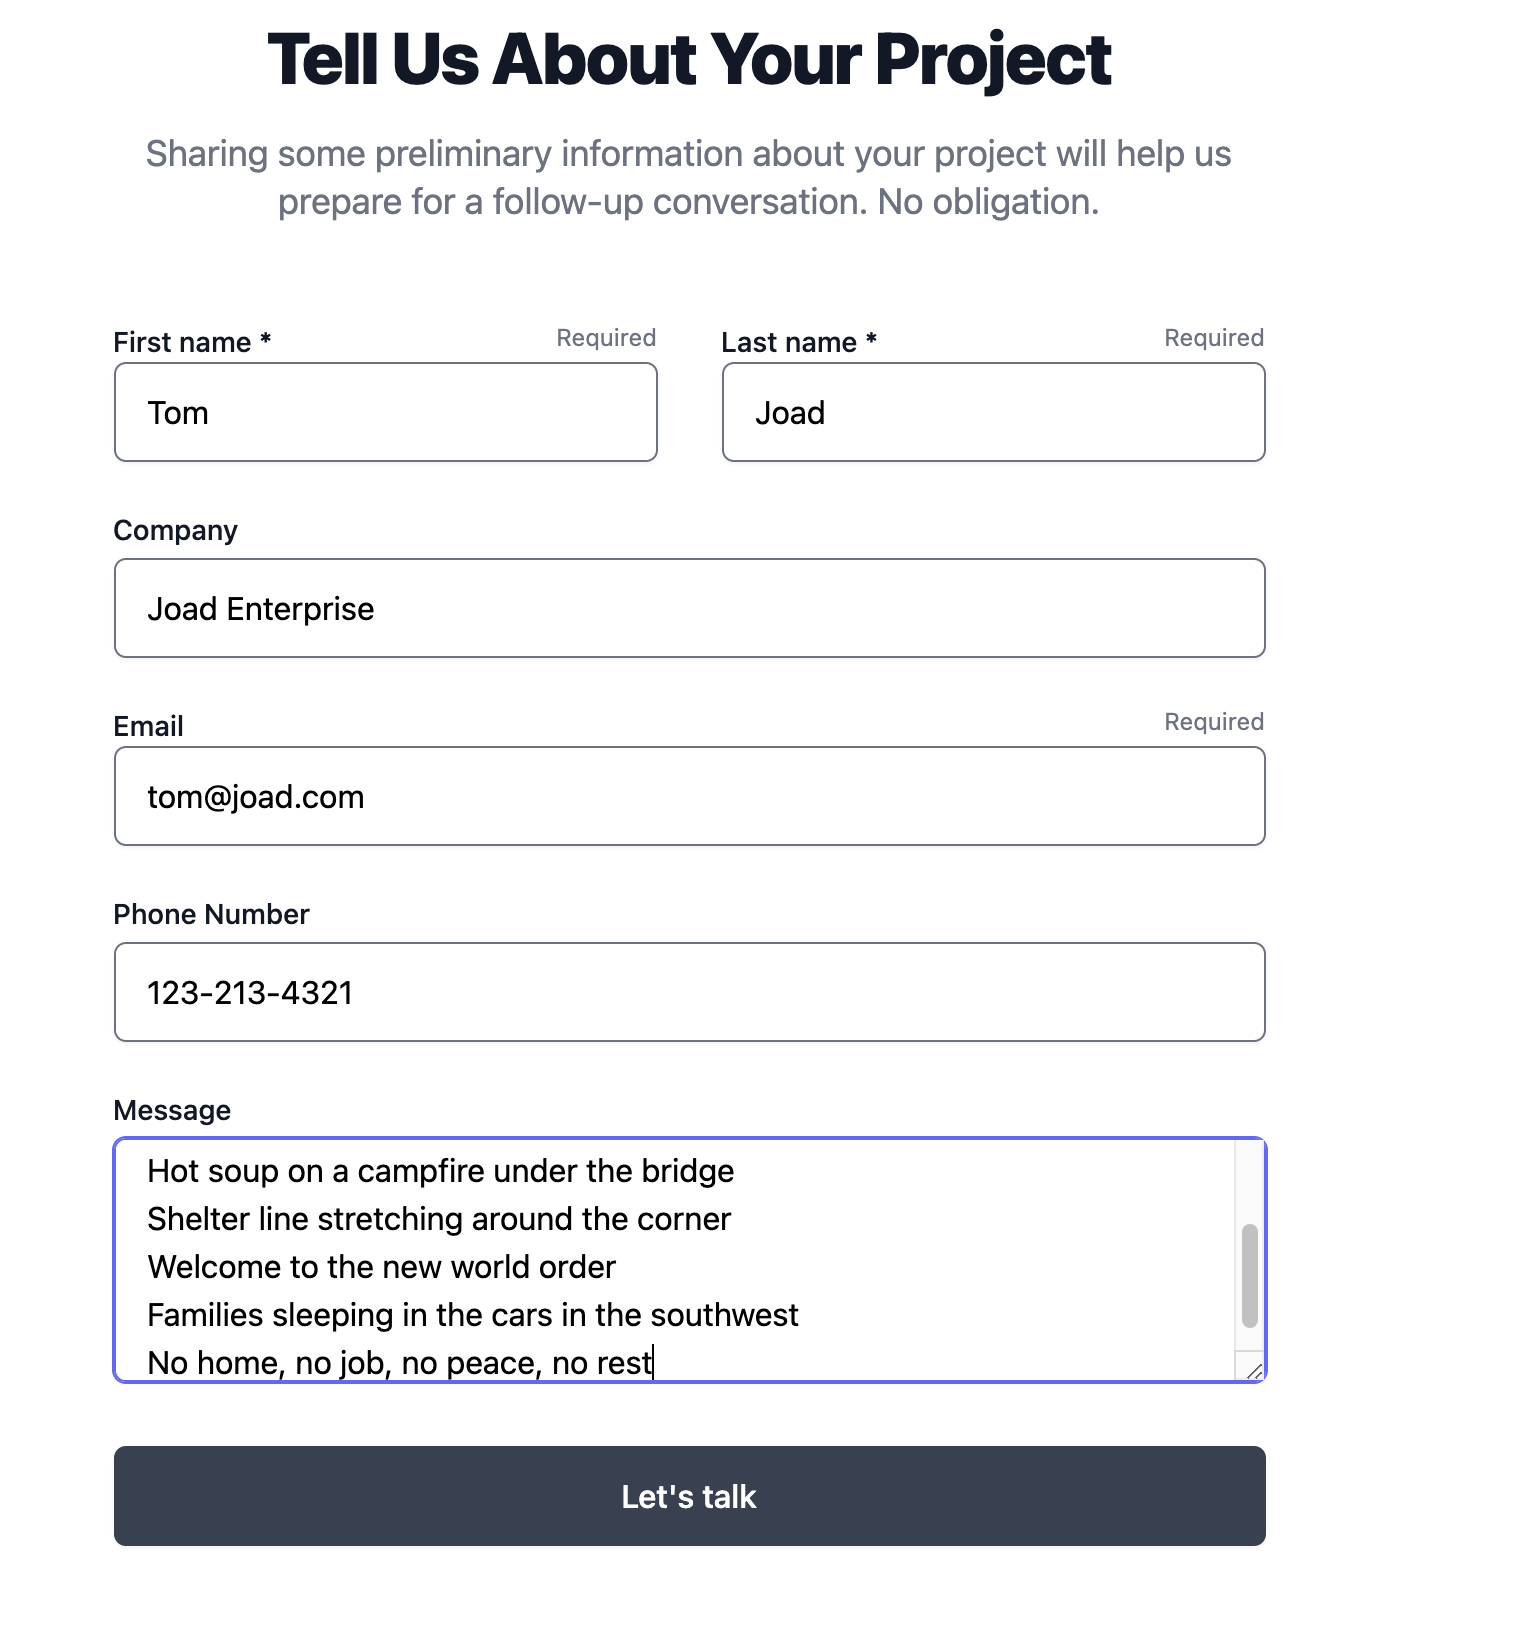
Reload the page and test the form. If you have the GraphQL connection setup already (see my video lesson for details), then the data should submit successfully.
That’s the basics of the form actually working and submitting data.
Resetting the Form
After a successful submission, we want to reset the form so it’s ready in case the user wants to submit again. In the event of an unsucecssful submission we’ll get the values re-populated automatically via the v‑model data binding.
We can use our fields constant again since it’s an object with the fields all set to empty strings. We just need to call it when we want to reset the fields and the data binding takes over.
We need to add a couple of checks in our code to make sure we’re resetting the fields at the correct time. Right now, we are only relying on a fetch error to be caught. But we need to also check for errors in the response from GraphQL. Let’s do that here:
    processForm() {
        console.log(this.fields)
        this.processing = true
        fetch(window.graphqlEndpoint, payload(this.fields))
            .then(response => response.json())
            .then(response => {
				if(response.errors) {

				} else {
					this.fields = fields()
				}
                this.processing = false
            })
            .catch(error => {
                console.log(error)
            })
    }
We add a conditional check for errors in the response JSON. If tehre aren’t any errors, we reset the fields by setting this.fields to fields(), which is the object with empty field values.
With that done, let’s make this form nicer to use by adding some visual indicators like a spinner and success and error messages.
Improving the Form Experience
To improve the experience of using the form, we need to:
- provide some indication that is submitting
- show a success message if the form succesfully submitted and saved a new entry
- show an error message if there was a problem with the form
- reset the form after a successful submission
This work is where we really beneit from using petite-vue versus vanilla JavaScript. Neither route is partcularly difficult, but in petite-vue we get the automatic connection between our app and the DOM without querying for elements.
Let’s first set a state of the form for when it’s processing. This will allow us to show an indeterminate process indicator to inform the user that the form was indeed submittted.
We’ll start by defaulting to false.
createApp({
    fields: fields(),
    processing: false,
We’ll set that to true inside of processForm().
processForm() {
 console.log(this.fields)
 this.processing = true
 fetch(window.graphqlEndpoint, payload(this.fields))
 ...
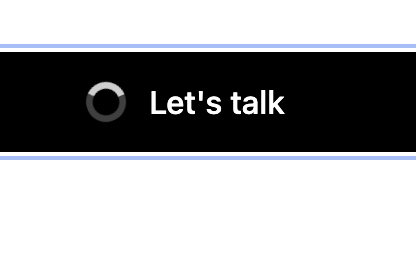
Now we can check that processing boolean in our HTML via the v-if directive and then show and hide a spinner based on it.
In our markup, we have a commented out block of HTML for an SVG right inside of the button element. Let’s uncomment it and add the v-if directive to it.
 <span v-if="processing">
	<svg id="processingIndicator" class="animate-spin -ml-1 mr-3 h-5 w-5 text-white" xmlns="http://www.w3.org/2000/svg" fill="none" viewBox="0 0 24 24">
		<circle class="opacity-25" cx="12" cy="12" r="10" stroke="currentColor" stroke-width="4"></circle>
		<path class="opacity-75" fill="currentColor" d="M4 12a8 8 0 018-8V0C5.373 0 0 5.373 0 12h4zm2 5.291A7.962 7.962 0 014 12H0c0 3.042 1.135 5.824 3 7.938l3-2.647z"></path>
	</svg>
</span>
If processing is true, then the contents of the span will show. This is an animated spinner built with an SVG and some Tailwind classes.
Now we need to set processing back to false when the form is done processing either successfully or unsuccessfully.
    processForm() {
        console.log(this.fields)
        this.processing = true
        fetch(window.graphqlEndpoint, payload(this.fields))
            .then(response => response.json())
            .then(response => {
                this.processing = false
            })
            .catch(error => {
                console.log(error)
				this.processing = false
            })
    }
Let’s also add messages if the submission was successful or if it was unsuccessful. Earlier, we added an extra check for errors in the response JSON. If there are errors there, then we can set an errors property to the value of true.
We’ll first define both the errors and submitted properties with false values.
createApp({
    fields: fields(),
    processing: false,
    submitted: false,
    errors: false,
	...
This way the default state of our form is no errors and the form is unsubmitted. Now we can change those values depending on the condition of the submission inside of fetch.
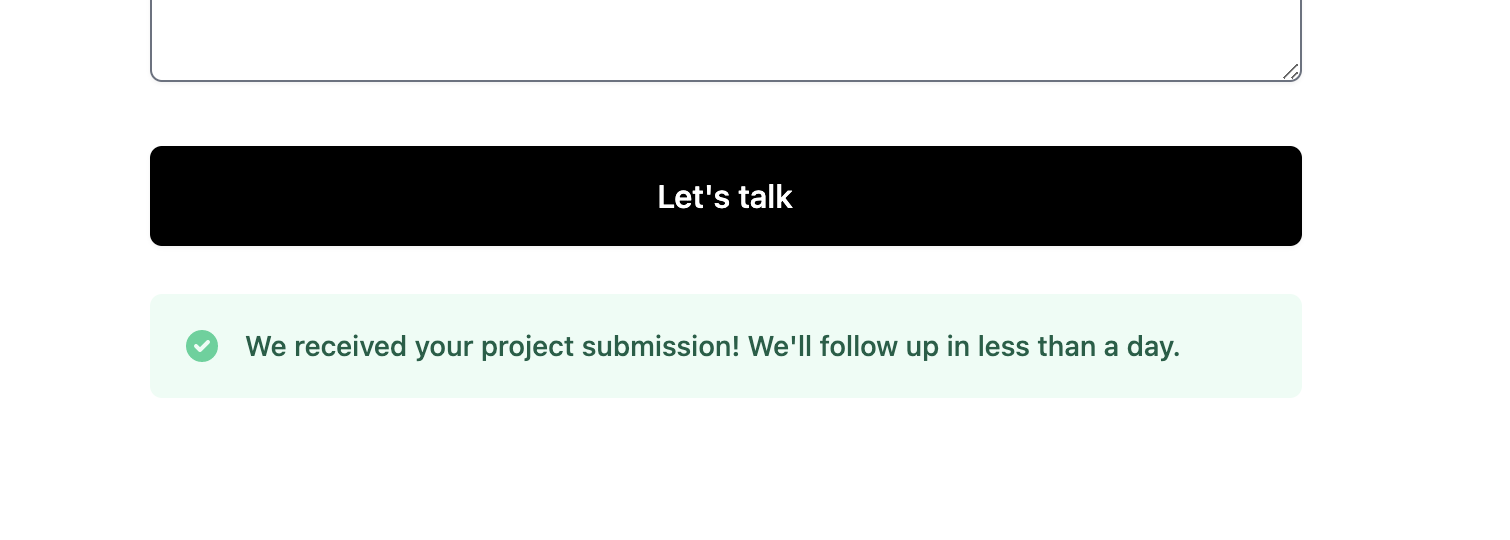
Let’s start with successful submissions. If a form is submitted successfully, then we display the success notification. This is commented out in the HTML code.
<div class="transition-opacity duration-500 ease-in-out sm:col-span-2">
	{{ messages.success("We received your project submission! We'll follow up in less than a day.") }}
</div>
The message is formatted via a macro in Twig.
We set the value of submitted to true inside of the else statement when checking for errors in the response. If no errors, then we can assume it was successful.
...
} else {
 	this.submitted = true
 	this.fields = fields()
...
We need to use a v-if directive here to check for true so we can toggle that HTML block to be visible.
<div v-if="submitted" class="transition-opacity duration-500 ease-in-out sm:col-span-2">
	{{ messages.success("We received your project submission! We'll follow up in less than a day.") }}
</div>
If the form was sucessfully submitted, then submitted will be true and the message will show!
Now let’s do the error message the same way. We already set the default state as a property. We now need to update it when errors occur. For errors, this can happen in two places: when the JSON has an errors property, and if fetch runs into an underlying error making the request.
createApp({
    fields: fields(),
    processing: false,
    submitted: false,
    errors: false,
    processForm() {
        console.log(this.fields)
        this.processing = true
        fetch(window.graphqlEndpoint, payload(this.fields))
            .then(response => response.json())
            .then(response => {
                if(response.errors) {
                    this.errors = true
                } else {
                    this.submitted = true
                    this.fields = fields()
                }
                this.processing = false
            })
            .catch(error => {
                this.errors = true
                console.log(error)
            })
    }
}).mount()
We can simluate an error by altering the GraphQL endpoint or token. This will throw an error from fetch(). We can throw an error via the response from GraphQL JSON by altering a field name in the query.

Now we have a functioning form using Craft CMS, GraphQL, and petite-vue!