Local Development of Craft CMS with Nitro
A short guide to using Nitro to localhost your Craft project.

This a first look at Nitro, the new local development tool from Pixel & Tonic.
A few highlights to get us started:
- Nitro is built on top of Multipass, a virtualization engine for Ubuntu instances. You can run Multipass on any machine (Windows, macOS, Linux).
- Nitro is managed via the command line interface. If you’re not familiar with using the command line you can still use Nitro but it might take a little bit of learning.
- My video on Nitro covers everything you need to know to get started in Nitro and is a good companion to this article.
Concepts to Know
- Multipass — the virtualization engine that runss Nitro.
- Machines — the virtual servers you create using Nitro.
- Sites — the individual projects in a machine. These are typically tied to a project (like a Craft installation) and have mapping associated with them to your local project directory and a hostname.
Installation
Installing Nitro is a 2‑step process. First, you need to install the underlying technology called Multipass. Multipass is a way to run linux virtual machines on your Mac, Windows, or Linux computer. Nitro is built on top of Multipass.
Installing Multipass
The easiest way to install Multipass is via the installer package for MacOS or Windows. You can also install it with Homebrew, if you’d like. Pick your poison.
To install it using the installer package for your operation system, download the appropriate package and run it.
- Instructions to install on macOS
- Instructions to install on Windows
- Instructions to install on Linux
Once you’ve sucessfully installed Multipass, you can move on to the next step.
Stuck? Watch my video on the entire process where I cover installing Multipass on MacOS.
Installing Nitro
With Multipass app running, you can now install Nitro. To do that, you need to execute the following command to build your local installation for Nitro.
Open your terminal application and run:
curl -sLS http://installer.getnitro.sh | bash
Once Nitro is successfully installed, you should see a list of available commands. You can always access those commands but just running nitro on the command line.
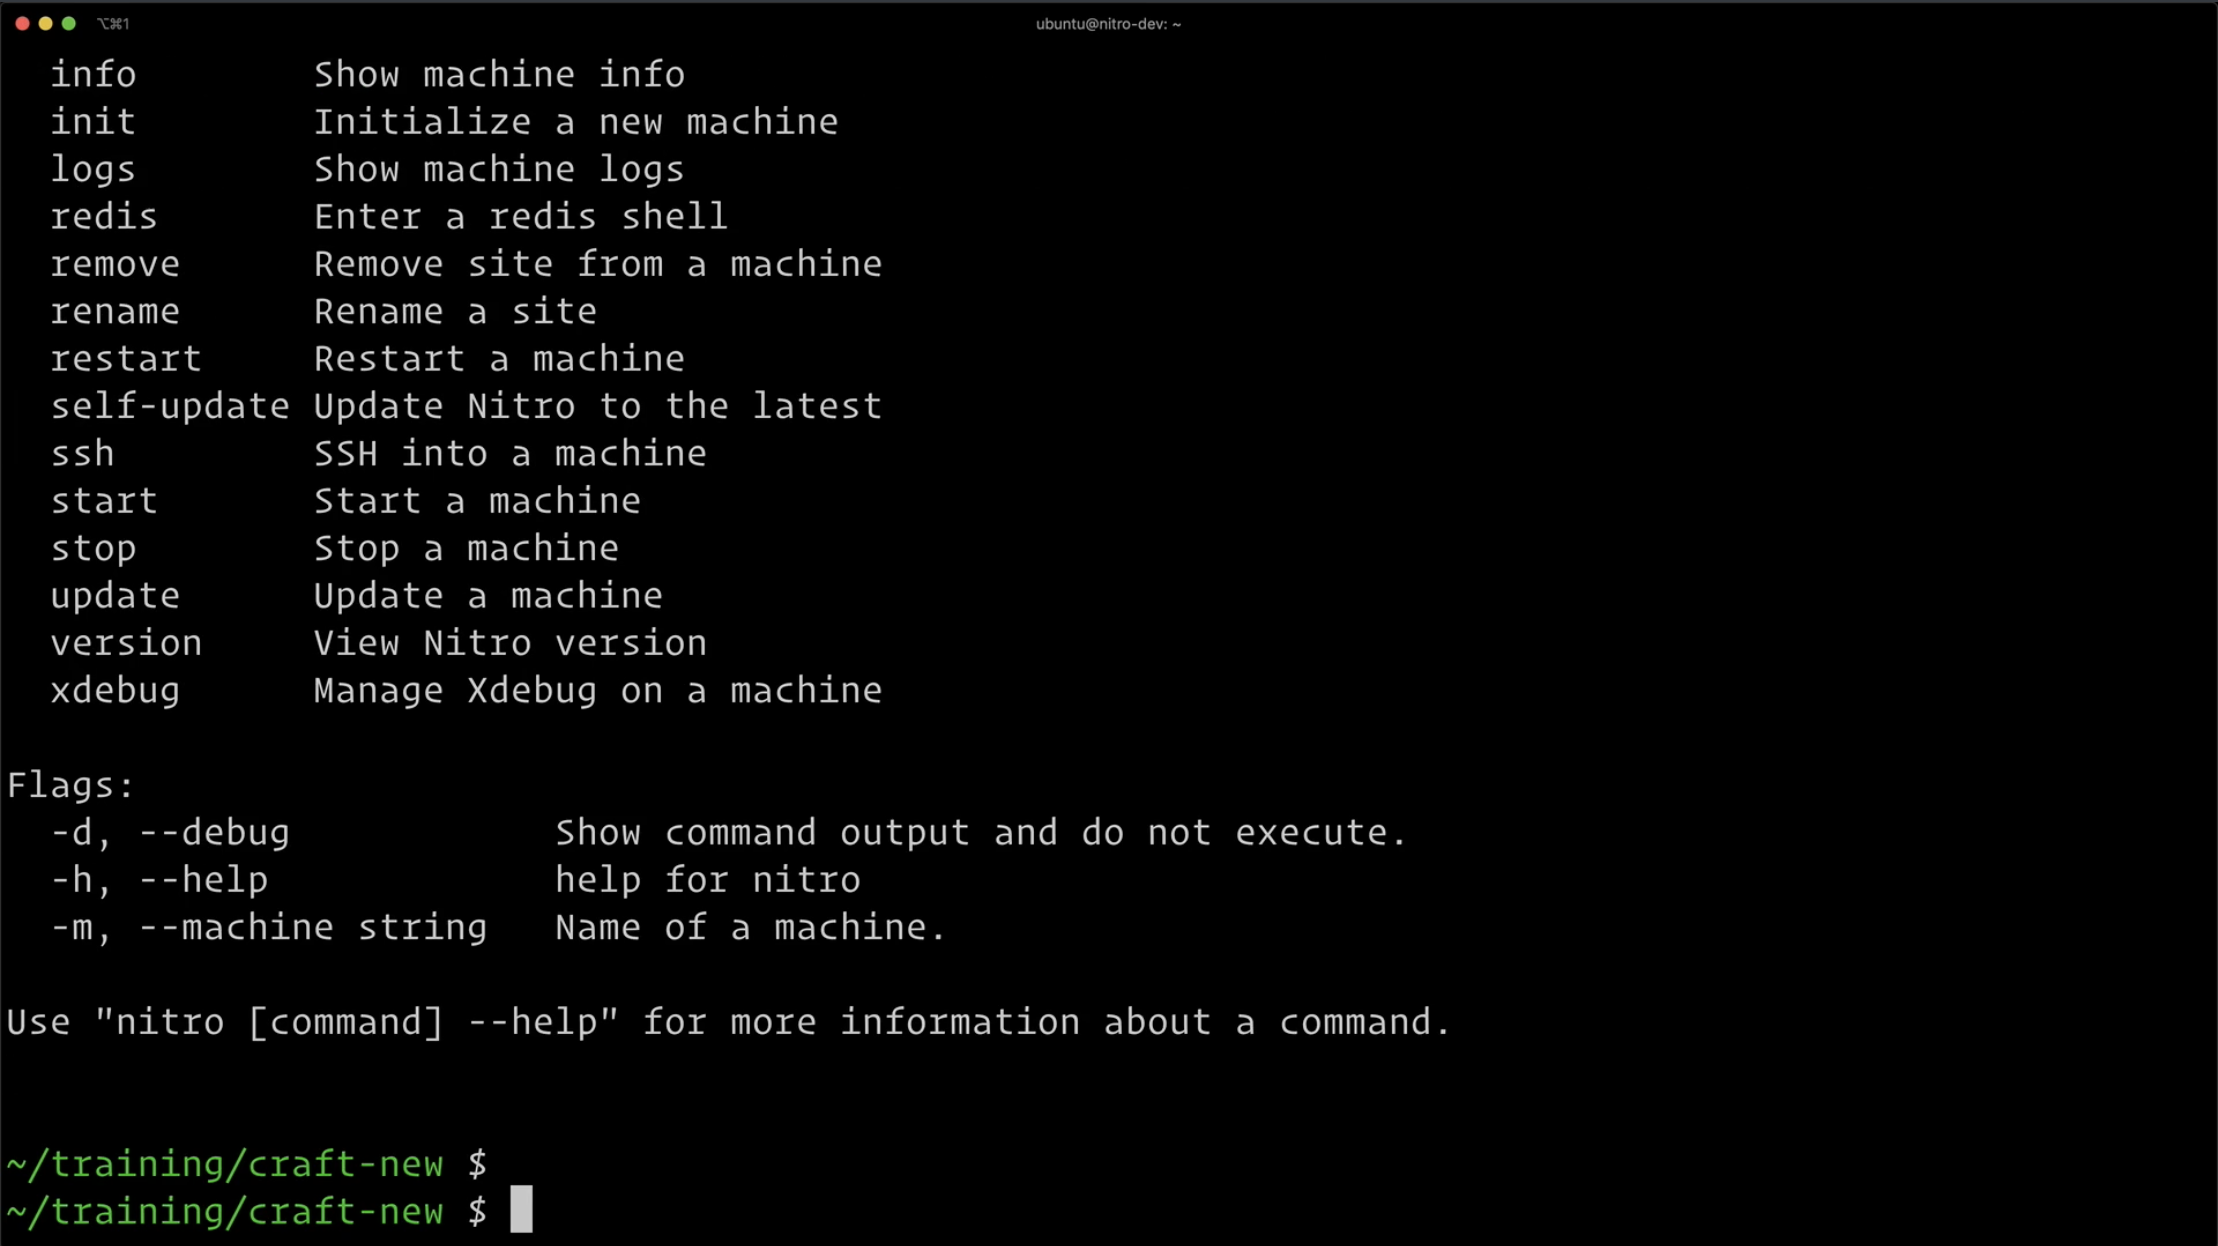 {.img-fluid}
Creating a Nitro Machine
Now that you have Multipass and Nitro installed, you can create your first machine. The machine is a virtual server that runs Ubuntu Linux and is how you locally host our website or web application.
In Nitro, we create a machine using the nitro inti command. If you don’t pass in a name for the machine using --machine then Nitro will use the default name nitro-dev. Let’s use the default for your first machine:
nitro init
You will be entered into a wizard-style setup process. Choose the server settings you want, including CPUs, memory, disk space, PHP version, and database type. The defaults should be fine for getting started. Just be sure to pick the database engine you really want. You have to choices: MySQL and Postgresql.
Once you complete the wizard it kicks off a provisioning process for the machine.
The first time you run this Multipass and Nitro need to download OS images and other supporting software and build the machine. This can take a while, so be patient.
Once the machine is completely done building you should see some output with details of the machine, like IP address, and configuration.
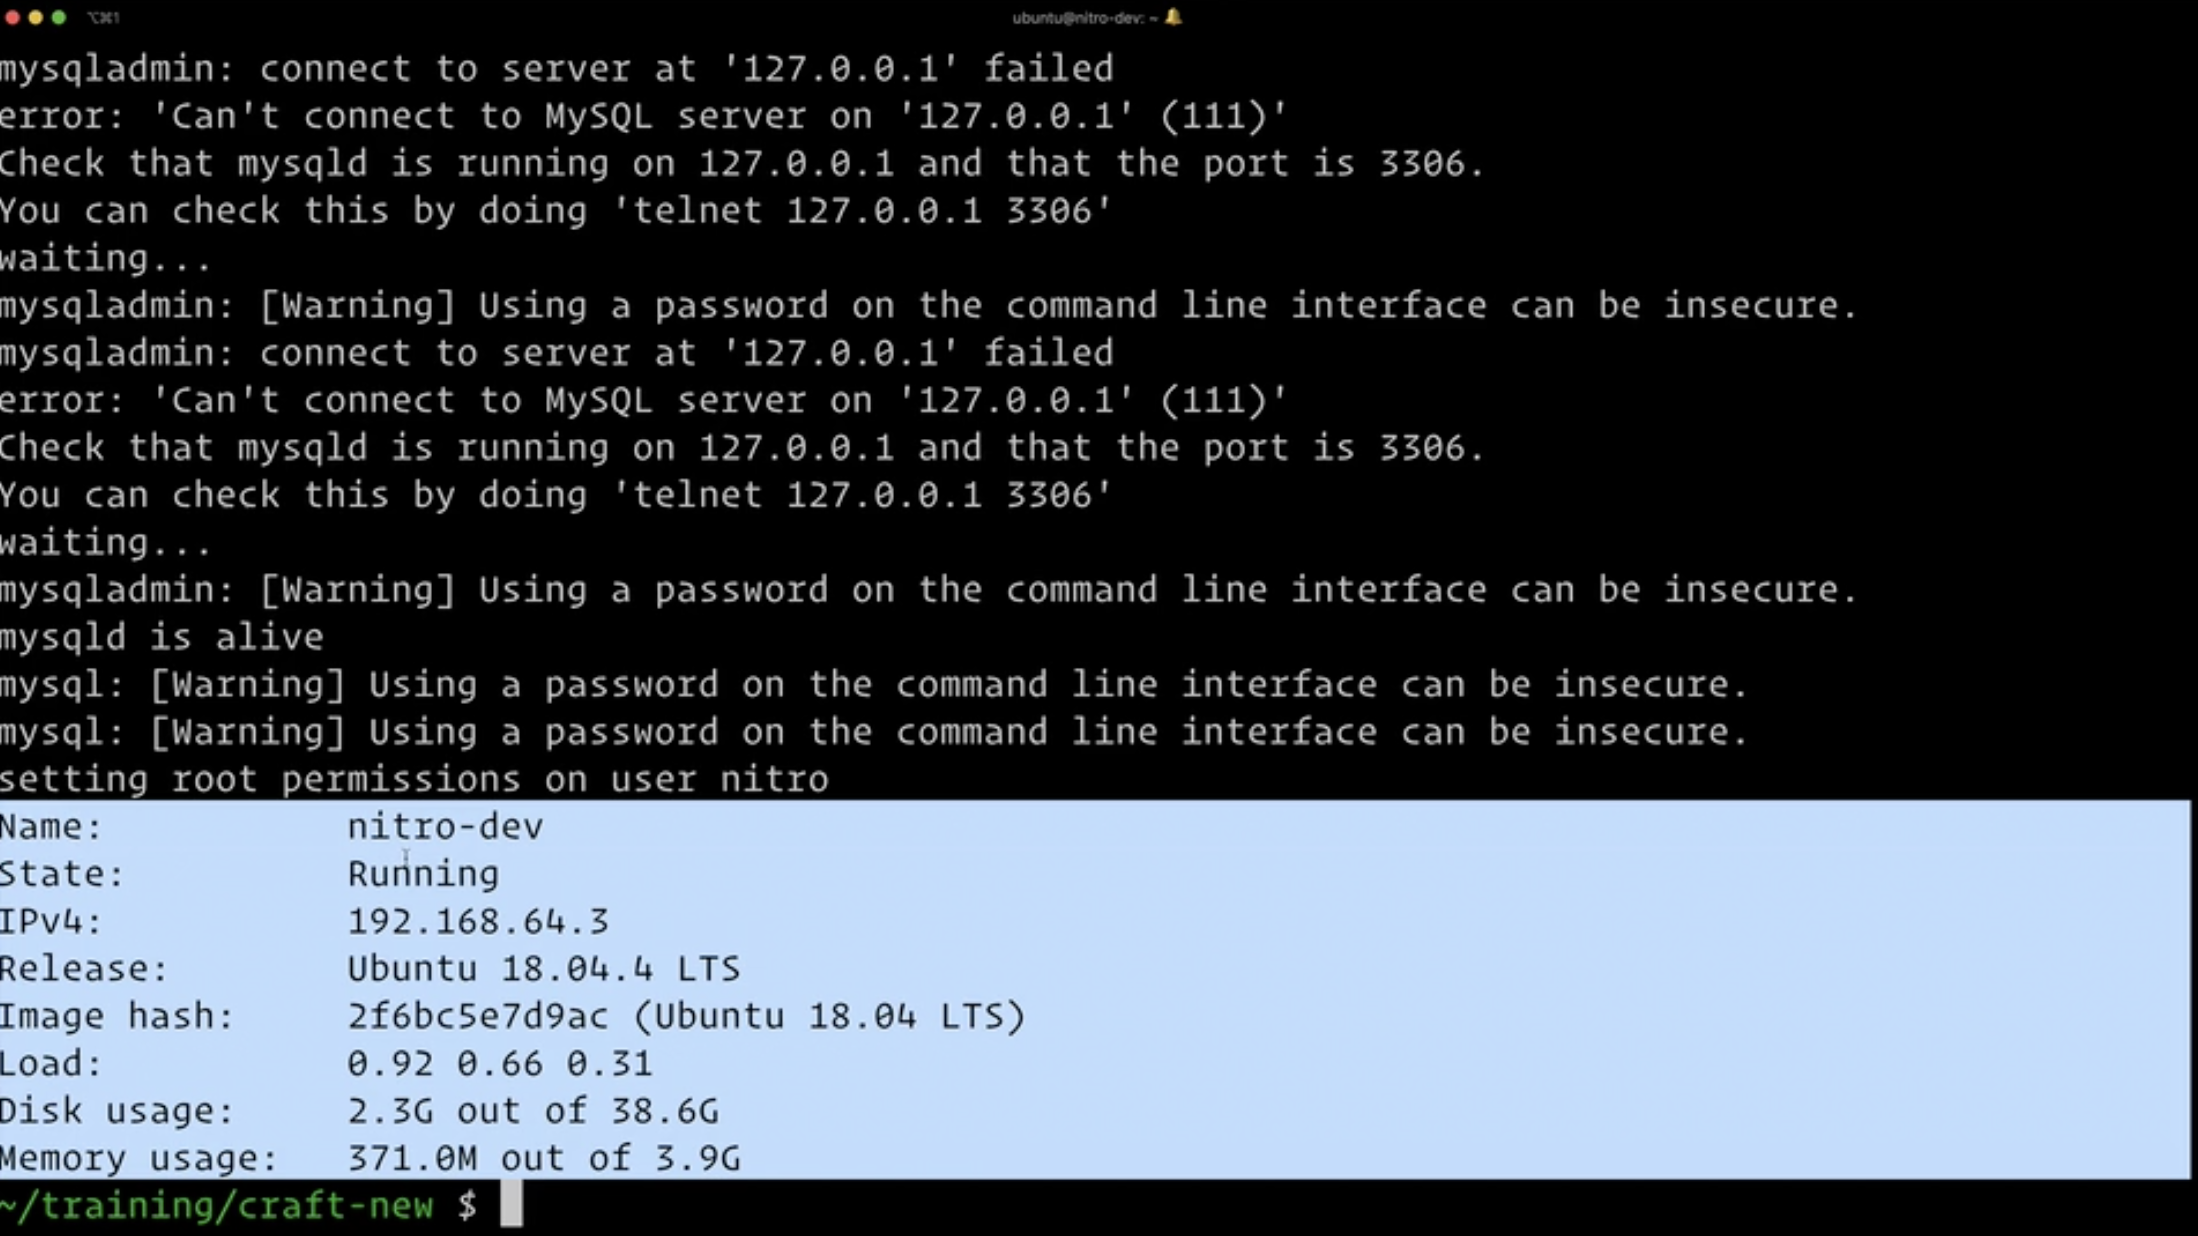 {.img-fluid}
Take note of the IP address because you’ll need it later when you want to access the database server to create a database for the project.
Adding a Site to Nitro
The next step is to add a site to Nitro. A site consists of a mapping to a project directory, its public directory, and a hostname that is pointed to the IP address of the machine.
Just like when you created the machine, you get a nice wizard style process that makes it easy to configure the site.
 {.img-fluid}
The first step is to go to the project that you want to host using Nitro. This could an existing project or a new installation of Craft.
Choose your own adventure:
Using Nitro with a New Installation of Craft
To use Nitro with a new installation of Craft, first cd into the project directory.
cd my-project
If you haven’t already created a new composer project using composer create-project then do that now.
composer create-project craftcms/craft .
This will install Craft into your current working directory.
After the Composer create-project is complete, if you run ls you should be in the root of the project and see a bunch of files and directories, including the web directory.
Now we can add add the site to Nitro.
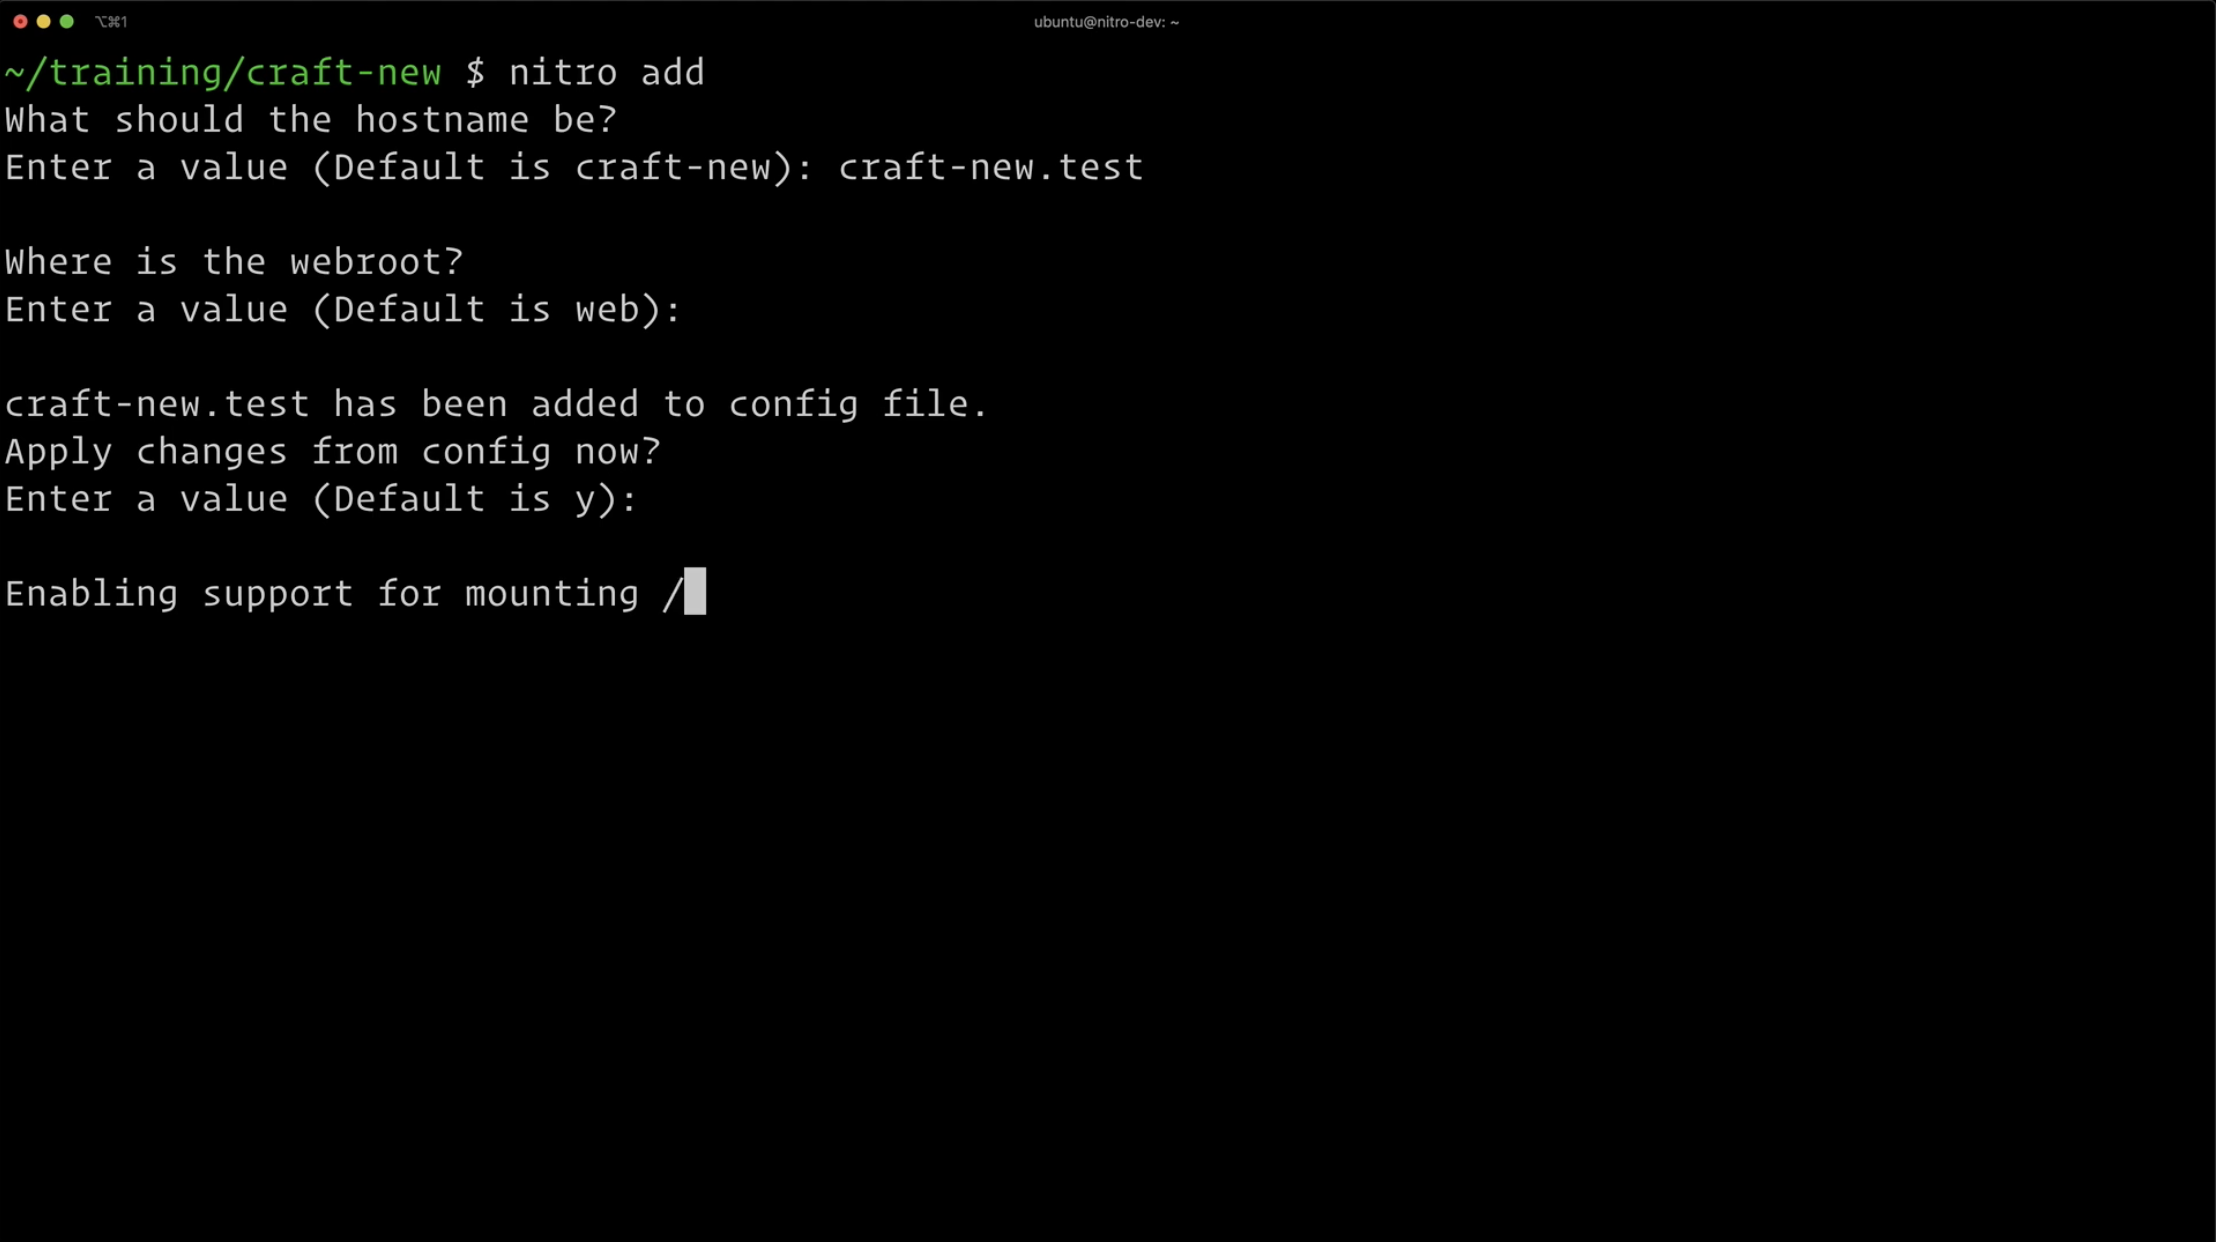
nitro add
This also presents you with a wizard-style setup process. Specify the hostname you want (I like to use project-name.test), the public directory (the default web is what you want), and then apply those changes to the config file.
This will create a mapping between your local file system and the Nitro machine. At the end of the process Nitro will prompt you for your system admin password so it can update your hosts file.
Now access the hostname in your browser to confirm that it is working. You’ll see a 503 error because Craft isn’t completely setup yet and is missing a database connection. Let’s fix that.
Remember the IP address I suggested you remember? You’ll need that now.
Nitro doesn’t create a database for you, so you’ll need to do that on your own. Using your favorite database tool, connect to the Nitro server using these credentials:
- 192.168.x.x (whatever your Nitro machine IP address is)
- user: nitro
- password: nitro
Create a database named something you’ll remember and then continue to the next step!
Now we can run the Craft setup command to finish installing our new Craft project.
./craft setup
When you’re prompted for you database credentials then input localhost for the server connection (IP address isn’t needed for this), username nitro, password nitro and the database name you created a few minutes ago.
Now you’re running Craft on Nitro! 🚀
Using Nitro with an Existing Craft Project
To use Nitro with a new installation of Craft, first cd into the project directory that you want to move to Nitro.
cd my-project
Now we can add add the site to Nitro.
nitro add
This also presents you with a wizard-style setup process like you had before when we created the machine. Specify the hostname you want (I like to use project-name.test), the public directory (the default web is what you want), and then apply those changes to the config file.
This will create a mapping between your local file system and the Nitro machine. At the end of the process Nitro will prompt you for your system admin password so it can update your hosts file.
Now access the hostname in your browser to confirm that it is working. You might see an error because we haven’t update the Craft i is missing a database connection. We’ll fix that in a minute.
Exporting Project Database
You need to move the project database from the current localhost database server to the new Nitro server. Export your project database. This can be done through a database tool or via the Craft Control Panel (Utilities > Database Backup).
Once you have the database dump file, make sure it’s in your project root. Now we’ll use a handy Nitro tool to import the database:
nitro import yourdatabasefile.sql
A wizard prompt will display confirming the database engine you want to import into. If you have multiple Nitro machines running you will have to specify the machine:
nitro import yourdatabasefile.sql --machine craftquest-dev
Followed the prompts to import the database dump into the database you just created.
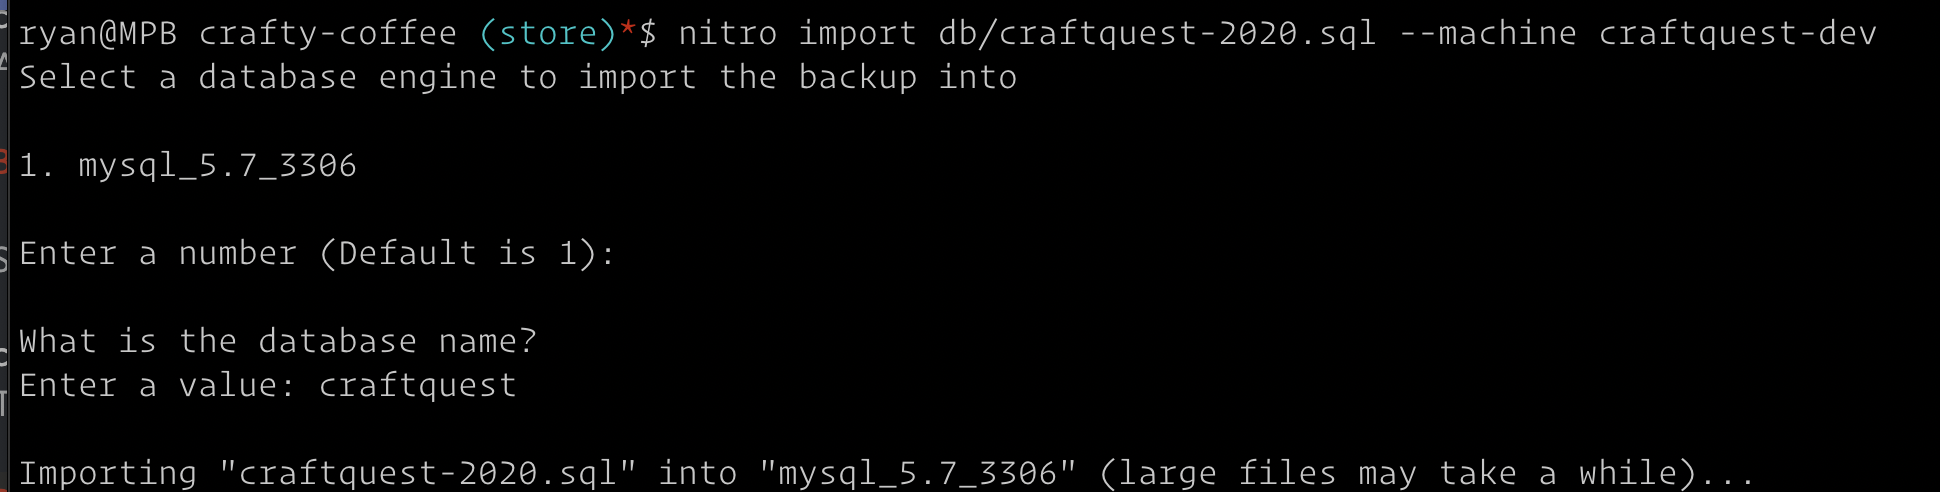 {.img-fluid}
With your database imported, now you can update your Craft project’s database connection information. Go into your project’s .env file and update the database credentials to use:
- localhost
- user: nitro
- password: nitro
- databasename
Access the site in the web browser using the hostname you set up and your site should load just as it did before! Except now it’s running on Craft Nitro. 🚀
Learning More About Nitro
If you want to learn more about Nitro, check out these resources: