Setting Up the Craft CMS Project
Getting the starter project up and running locally.
In this course, we are using a starter project that contains the tools and settings for a reliable local development environment. It is forked from Andrew Welch’s Craft 3 with Vite scaffolding project, and simplified and customized for this course.
Before you get started, make sure you have Docker Desktop installed and running on your laptop or computer. The easiest way to get the correct version of Docker Desktop for you is via the Docker Desktop download page. Install the application and then launch it so it is running.
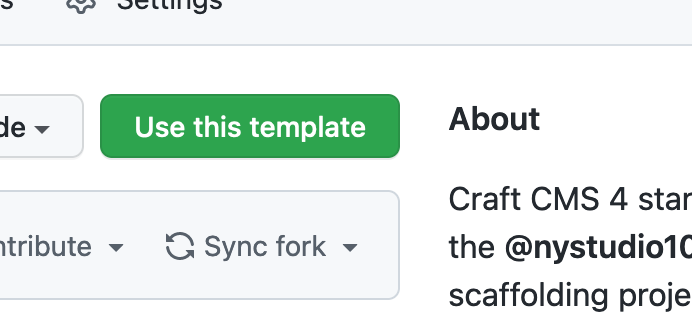
You can access the project via the Github repository. It is set up as a template repository, so click the green button to copy the code over to a new repository on Github.
Once your new repository is created, it’s time to clone that project on your local machine.
git clone [email protected]:YourAccount/your-repository-name.git
Starting Up the Project
The starter project uses make commands to bundle up the various commands you’ll need to use to start, stop, and do other things in the project.
When you are working locally, you’ll want to start up the project using make dev. This runs a series of commands, including docker-compose up. If it is the first time you’ve run the project, then it will also download and spin up the correct Docker containers.
make dev
You’ll want to wait for the output in the command line to show “Ready to handle connections” before proceeding. It shouldn’t take long to build but the time required will depend on your speed of your laptop or computer.
Next, we need to build our dist directory that serves up our favicons, manifest files, etc. This isn’t required but it’s nice to have it all working properly. We build that directory using the make build command, which builds the project for production.
make build
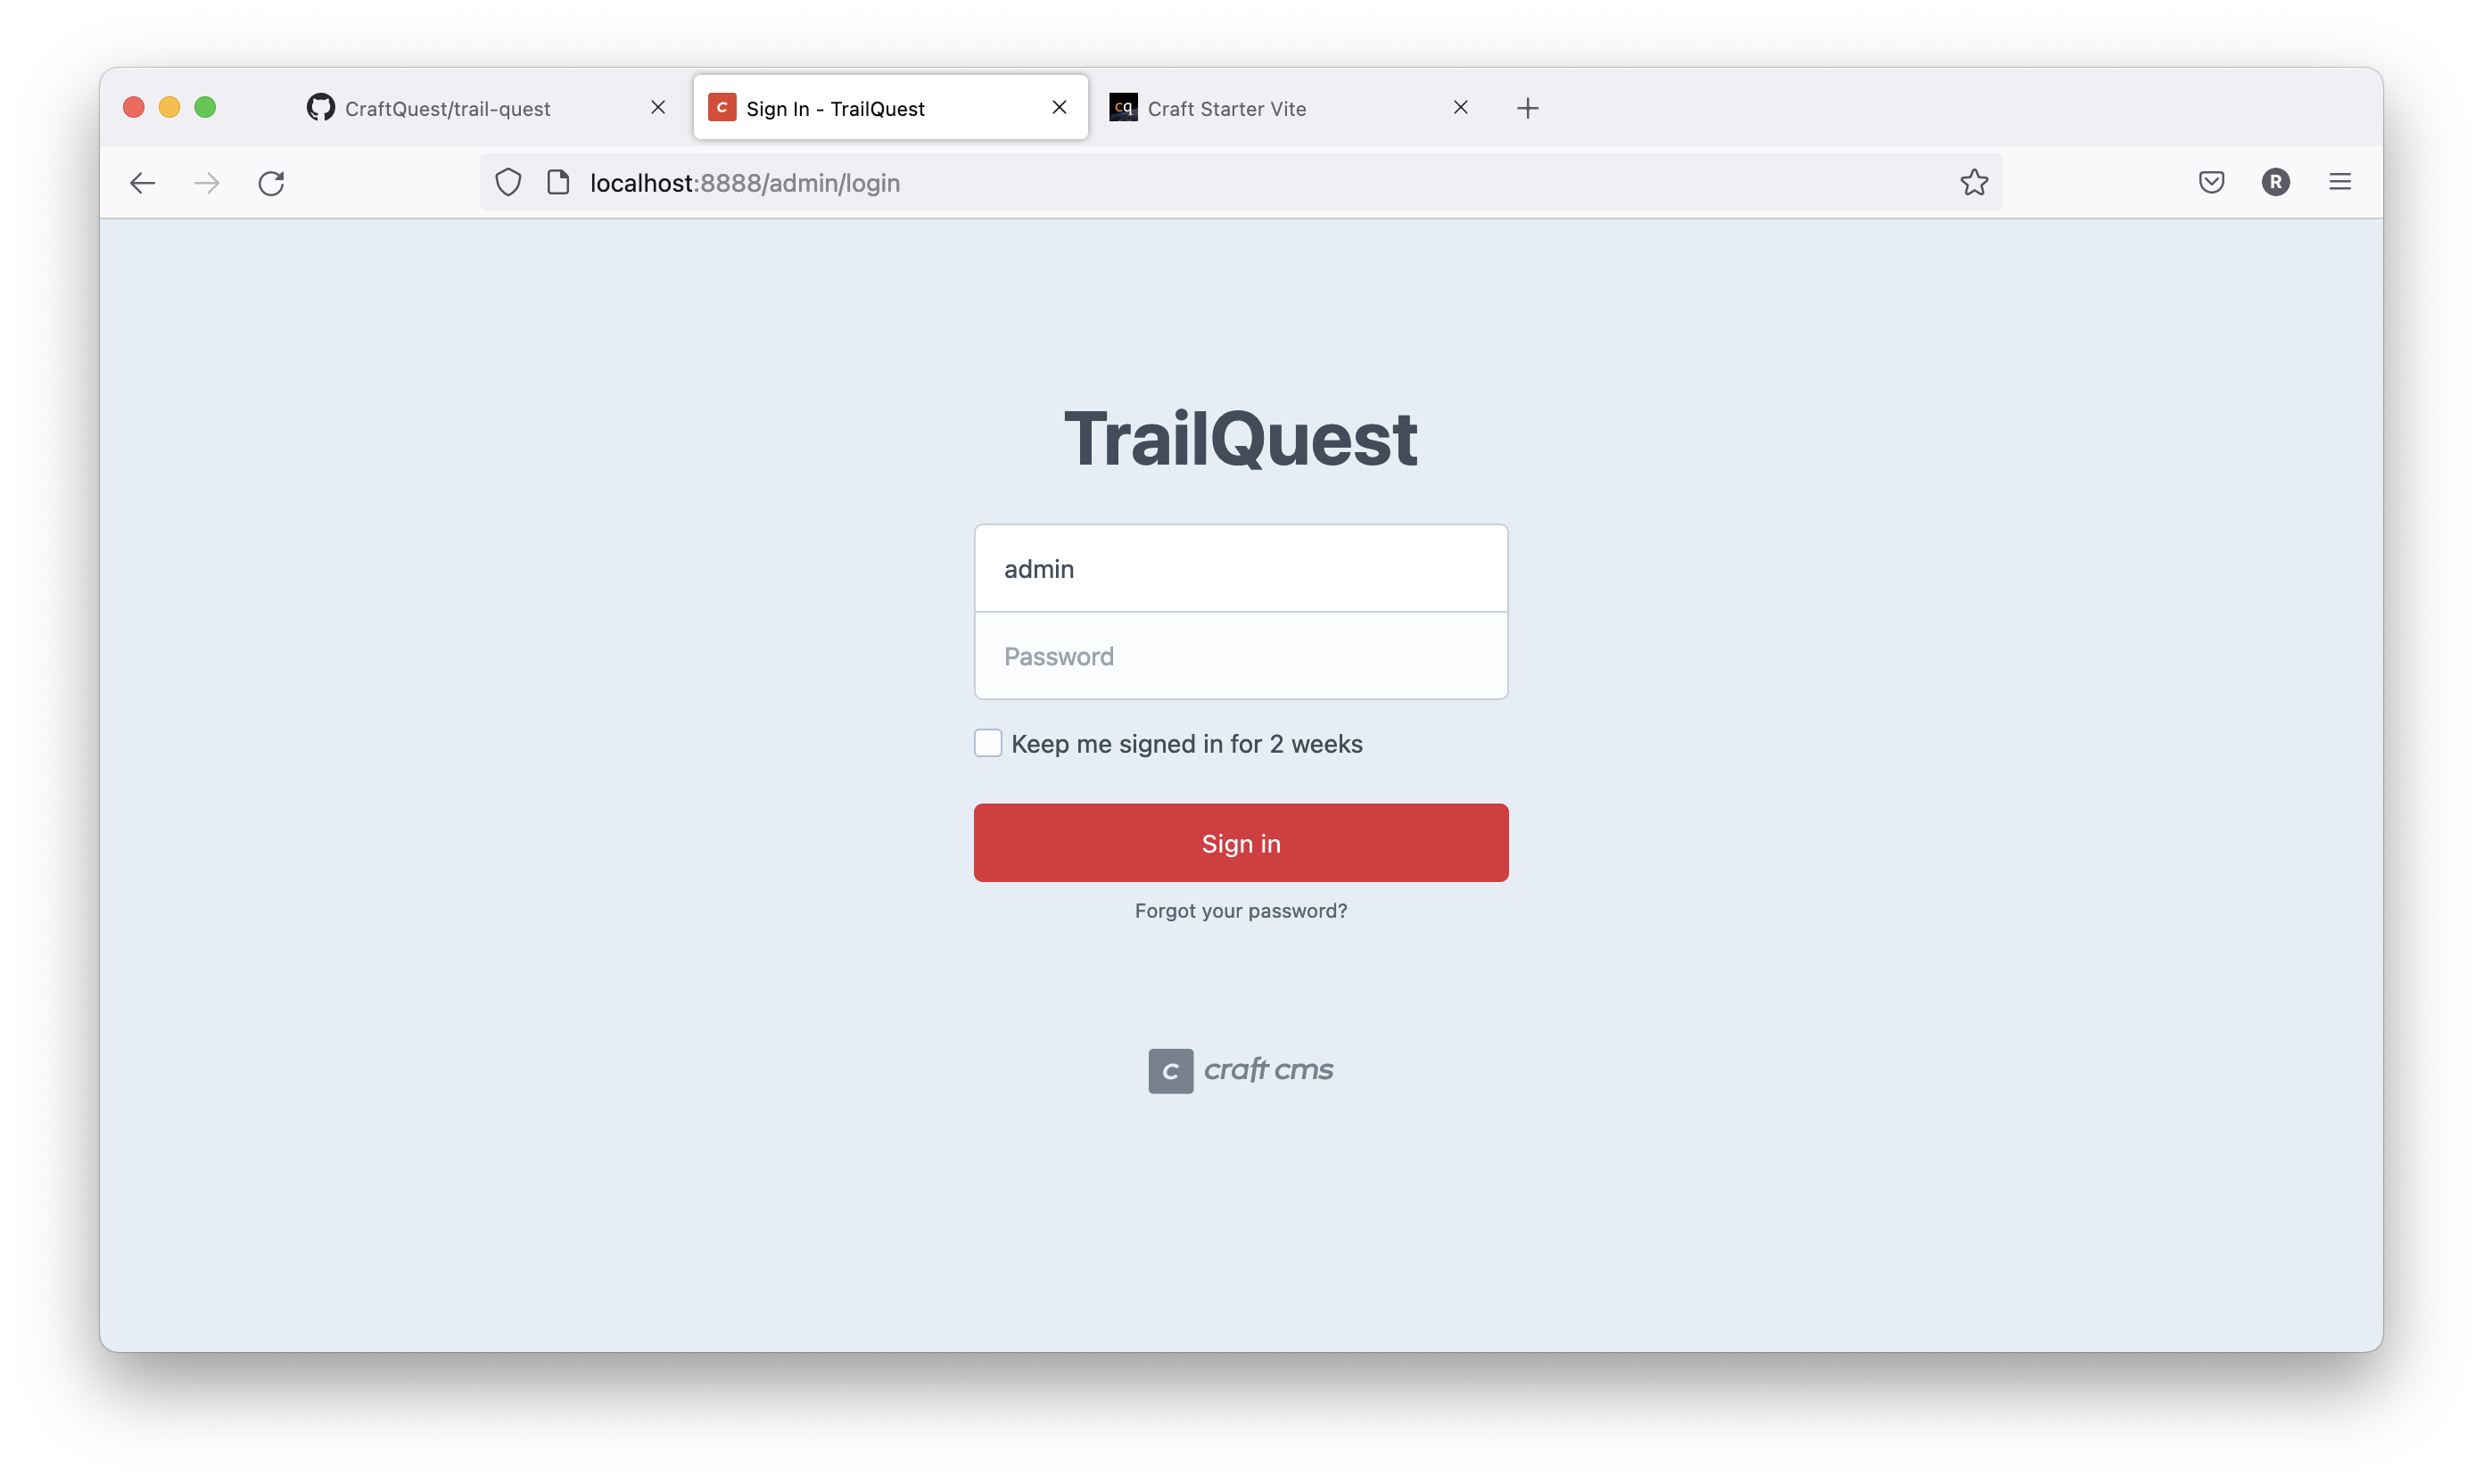
The site is available at localhost:8888 and you should be able to access it in your browser. Append /admin to access the Craft control panel, which should prompt you to log in (username: admin, password: password).
Getting the Static Assets
We don’t need to transfer or set up CSS or JS assets for this project becase we’re relying on Tailwind and a few customizations to Tailwind that are already included in the starter project.
But, we do need to get the images from the static templates project (access that in its Github repository by downloading the latest release zip file).
We’ll need to move over the images inside of the images directory and move them to cms/web/img/site directory in our starter project.
Testing the Project
Let’s paste in some of the static code from the templates project to make sure everything is working properly.
In the index.html template, copy everything inside and including the body tag, and then paste it in to the index.twig in the starter project, replacing the body section.
We’ll need to update some image paths to be img/site/ instead of the defaults in the static template.
If you load the project homepage at localhost:8888, you should a properly rendered homepage with the images and styles all working as expected.

Committing Our Changes
Since this is a course on “real world” Craft CMS, we want to make sure we commit our changes to our Git repository.
You can access my version of the site for this video in the Git branch called setting-up-the-craft-cms-project.